Getting Started with Your Photos in Lightroom
Welcome to this easy-to-follow tutorial, where we’ll guide you through editing your photos using Adobe Lightroom and Photoshop. Today, we’ll be focusing on the Giant Despair Hill Climb event in Wilkes-Barre, PA. After an exciting day of shooting with my Canon R6, Jeffrey’s Sony camera, and Jhong’s Nikon Z6, we collected many amazing photos. Now, it’s time to dive into the editing process! Our first stop is Lightroom. This tool is essential for organizing and making basic adjustments. I start by importing the photos and sorting them into collections, which helps me quickly find the shots I want to work on. Here’s a pro tip: use star ratings or color labels to identify your best images in no time.

Making Basic Adjustments in Lightroom
Once I’ve imported and organized the photos, I move to the Develop module, where the magic begins. My first step is adjusting the exposure. Since lighting changes quickly during outdoor events like the Giant Despair Hill Climb, this step is crucial. I ensure each photo has the perfect balance of brightness and darkness. Next, I adjust the contrast, highlights, and shadows to bring out the details in the cars, which often have reflective surfaces. Remember to use the clarity and vibrance sliders to give your photo a little extra pop—just don’t go overboard!
Enhancing Colors and Details
After adjusting the exposure, I shift my focus to color correction. The colors at an event like this need to be vibrant, especially for those eye-catching car paint jobs. I start by tweaking the white balance to ensure the colors look natural. Then, I use the HSL (hue, saturation, luminance) sliders to fine-tune specific colors, making them stand out. Finally, I head to the detail panel to sharpen the image and reduce noise. This step is essential, especially for low-light shots or fast-moving subjects. Once I’m happy with one photo, I sync the settings across similar images to save time.
Moving into Photoshop for Advanced Edits
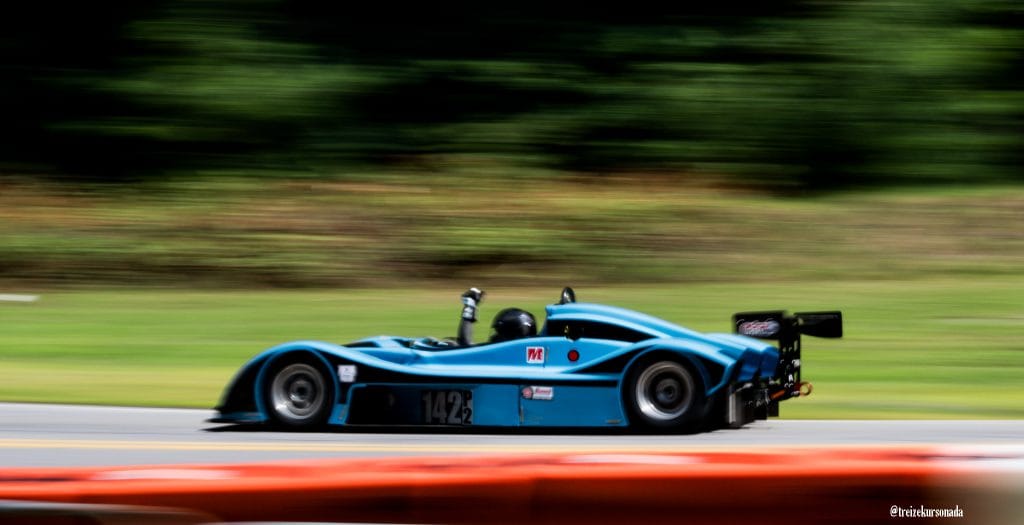
Now that the basic adjustments are done in Lightroom, it’s time for the more detailed edits in Photoshop. This is where I can get truly creative! I start by cleaning up the background using Photoshop’s Content-Aware Fill tool. This helps remove distractions like people or signs that might take focus away from the cars. Next, I use the dodge and burn tools to highlight or darken specific areas, making sure the most important parts of the image stand out. For this event, adding a bit of motion blur to the background enhances the sense of speed, bringing the scene to life.
Fine-Tuning in Photoshop
With the distractions removed and the key areas highlighted, I continue refining the image. Photoshop allows me to make selective color adjustments, boosting or toning down specific hues to enhance the overall composition. I also like to experiment with different effects to see what complements the photo. For example, adding a subtle vignette can draw attention to the center, making the car or the action the primary focus.
Preparing to Export
Once the edits in Photoshop are done, it’s time to export the photos. I usually save a high-resolution version for printing, especially for larger formats or portfolios. Additionally, I create a web-optimized version for online sharing, including social media and event recaps. Lightroom makes this process simple, as it offers export presets for different uses. It’s a great way to ensure your photos look their best no matter where they’re displayed.
Sharing the Photos
After exporting, the next step is sharing the photos. Since these shots will be part of our event coverage, I ensure the images are optimized for both print and digital platforms. Web-optimized images help pages load faster, making it easier for people to view them online. You can also create a Lightroom gallery for quick sharing with clients or your team. For more on event photography, check out our guide on event photo tips.
Backing Up Your Work
Before wrapping up, it’s crucial to back up your work. I always store copies of the edited photos on an external hard drive and in cloud storage. This ensures my photos are safe in case anything happens to my computer. Lightroom has a built-in backup feature that automatically saves your catalog, so you’ll never lose your edits. For more tips on backing up files, visit Adobe’s cloud storage guide.
Recapping the Process
To recap, Lightroom is great for organizing and making basic adjustments, while Photoshop allows you to refine and add creative elements. By combining these two tools, you can take your event photos to the next level. Whether you’re fixing exposure, enhancing colors, or removing distractions, Lightroom and Photoshop offer everything you need for professional-quality results.
Final Thoughts
Editing photos doesn’t have to be overwhelming. With a structured approach and the right tools, you can make your images shine. Whether you’re capturing fast-moving action at events like Giant Despair or scenic landscapes, Lightroom and Photoshop provide the flexibility to achieve your vision. We hope this guide helps you get started. For more photo editing tutorials, check out our Lightroom editing tips and advanced Photoshop techniques.
Related Articles:
Other Links:
- Learn more about backing up your photos with Adobe Cloud Storage
- Get tips on using Lightroom at the Adobe Lightroom Official Help Page
- Motor Sports event at the Giant Despair event